
Jan has requested chili rellenos to go with my molé chicken this Sunday. A quick look at recipes on-line told me that it is a fussy recipe that has several steps fraught with peril. You have to broil, deseed, and then stuff the chilies without breaking them. Then you have to coat them in a egg batter and deep fry them, still without breaking the chilies or having the coating fall off.
Karl’s Chili Rellenos in a Casserole
This fussiness is further complicated by my diners. Jan cannot eat deep fried foods and the kids are currently mostly off starches—Atkins diet—so I cannot use flour to stabilize the egg batter. I needed to find a simpler way or I would be spending all of my time just on this one dish.
I had thought I would make this dish like a lasagna, a layer of egg, a layer of chilies, a layer of cheese, and so on. By accident, I discovered a secret to peeling Poblano chilies. With chilies perfect suited to being stuffed with cheese, I changed my plan.
The Secret: When I have peel chilies in the past, I would always broil my chilies until they were well blackened. The meat of the chilies always became very soft and fell apart as I tried to deseed them. Since I usually planned to chop them into bits anyway this was not a problem.
Today, Eilene called for a ride while I was broiling my chilies. I had to stop just as the skins were starting to get spotty. I put them in a plastic bag to steam—another trick to make peeling chilies easier—and left them on the counter. When I came back the chilies were still firm, but the skins peeled off with ease, leaving them in perfect shape for rellenos, soft but pliable.
With the chilies out of the way, I turned to the problem of the egg coating. Traditionally, the stuffed chilies are dipped in an egg wash and then flour or corn meal. They are then deep fried. Since I could not use starch or lots of oil, I had to find another way.
One recipe called for whipping the egg whites and then building the rellenos in the pan. A layer of egg goes into the skillet, the chili is set on top and then a spatula is used to cover the chili with more egg whites. While this might work for one or two rellenos, This seemed even more fussy than the traditional method. It did, however, gave me an idea.
I would lay down a layer of egg in a large casserole and then nestle the stuffed chilies around the pan. Spreading more egg to cover them all completed the rellenos. Finally, cutting the chilies apart in the pan would give me low-fat, low-starch, completely-coated chili rellenos.
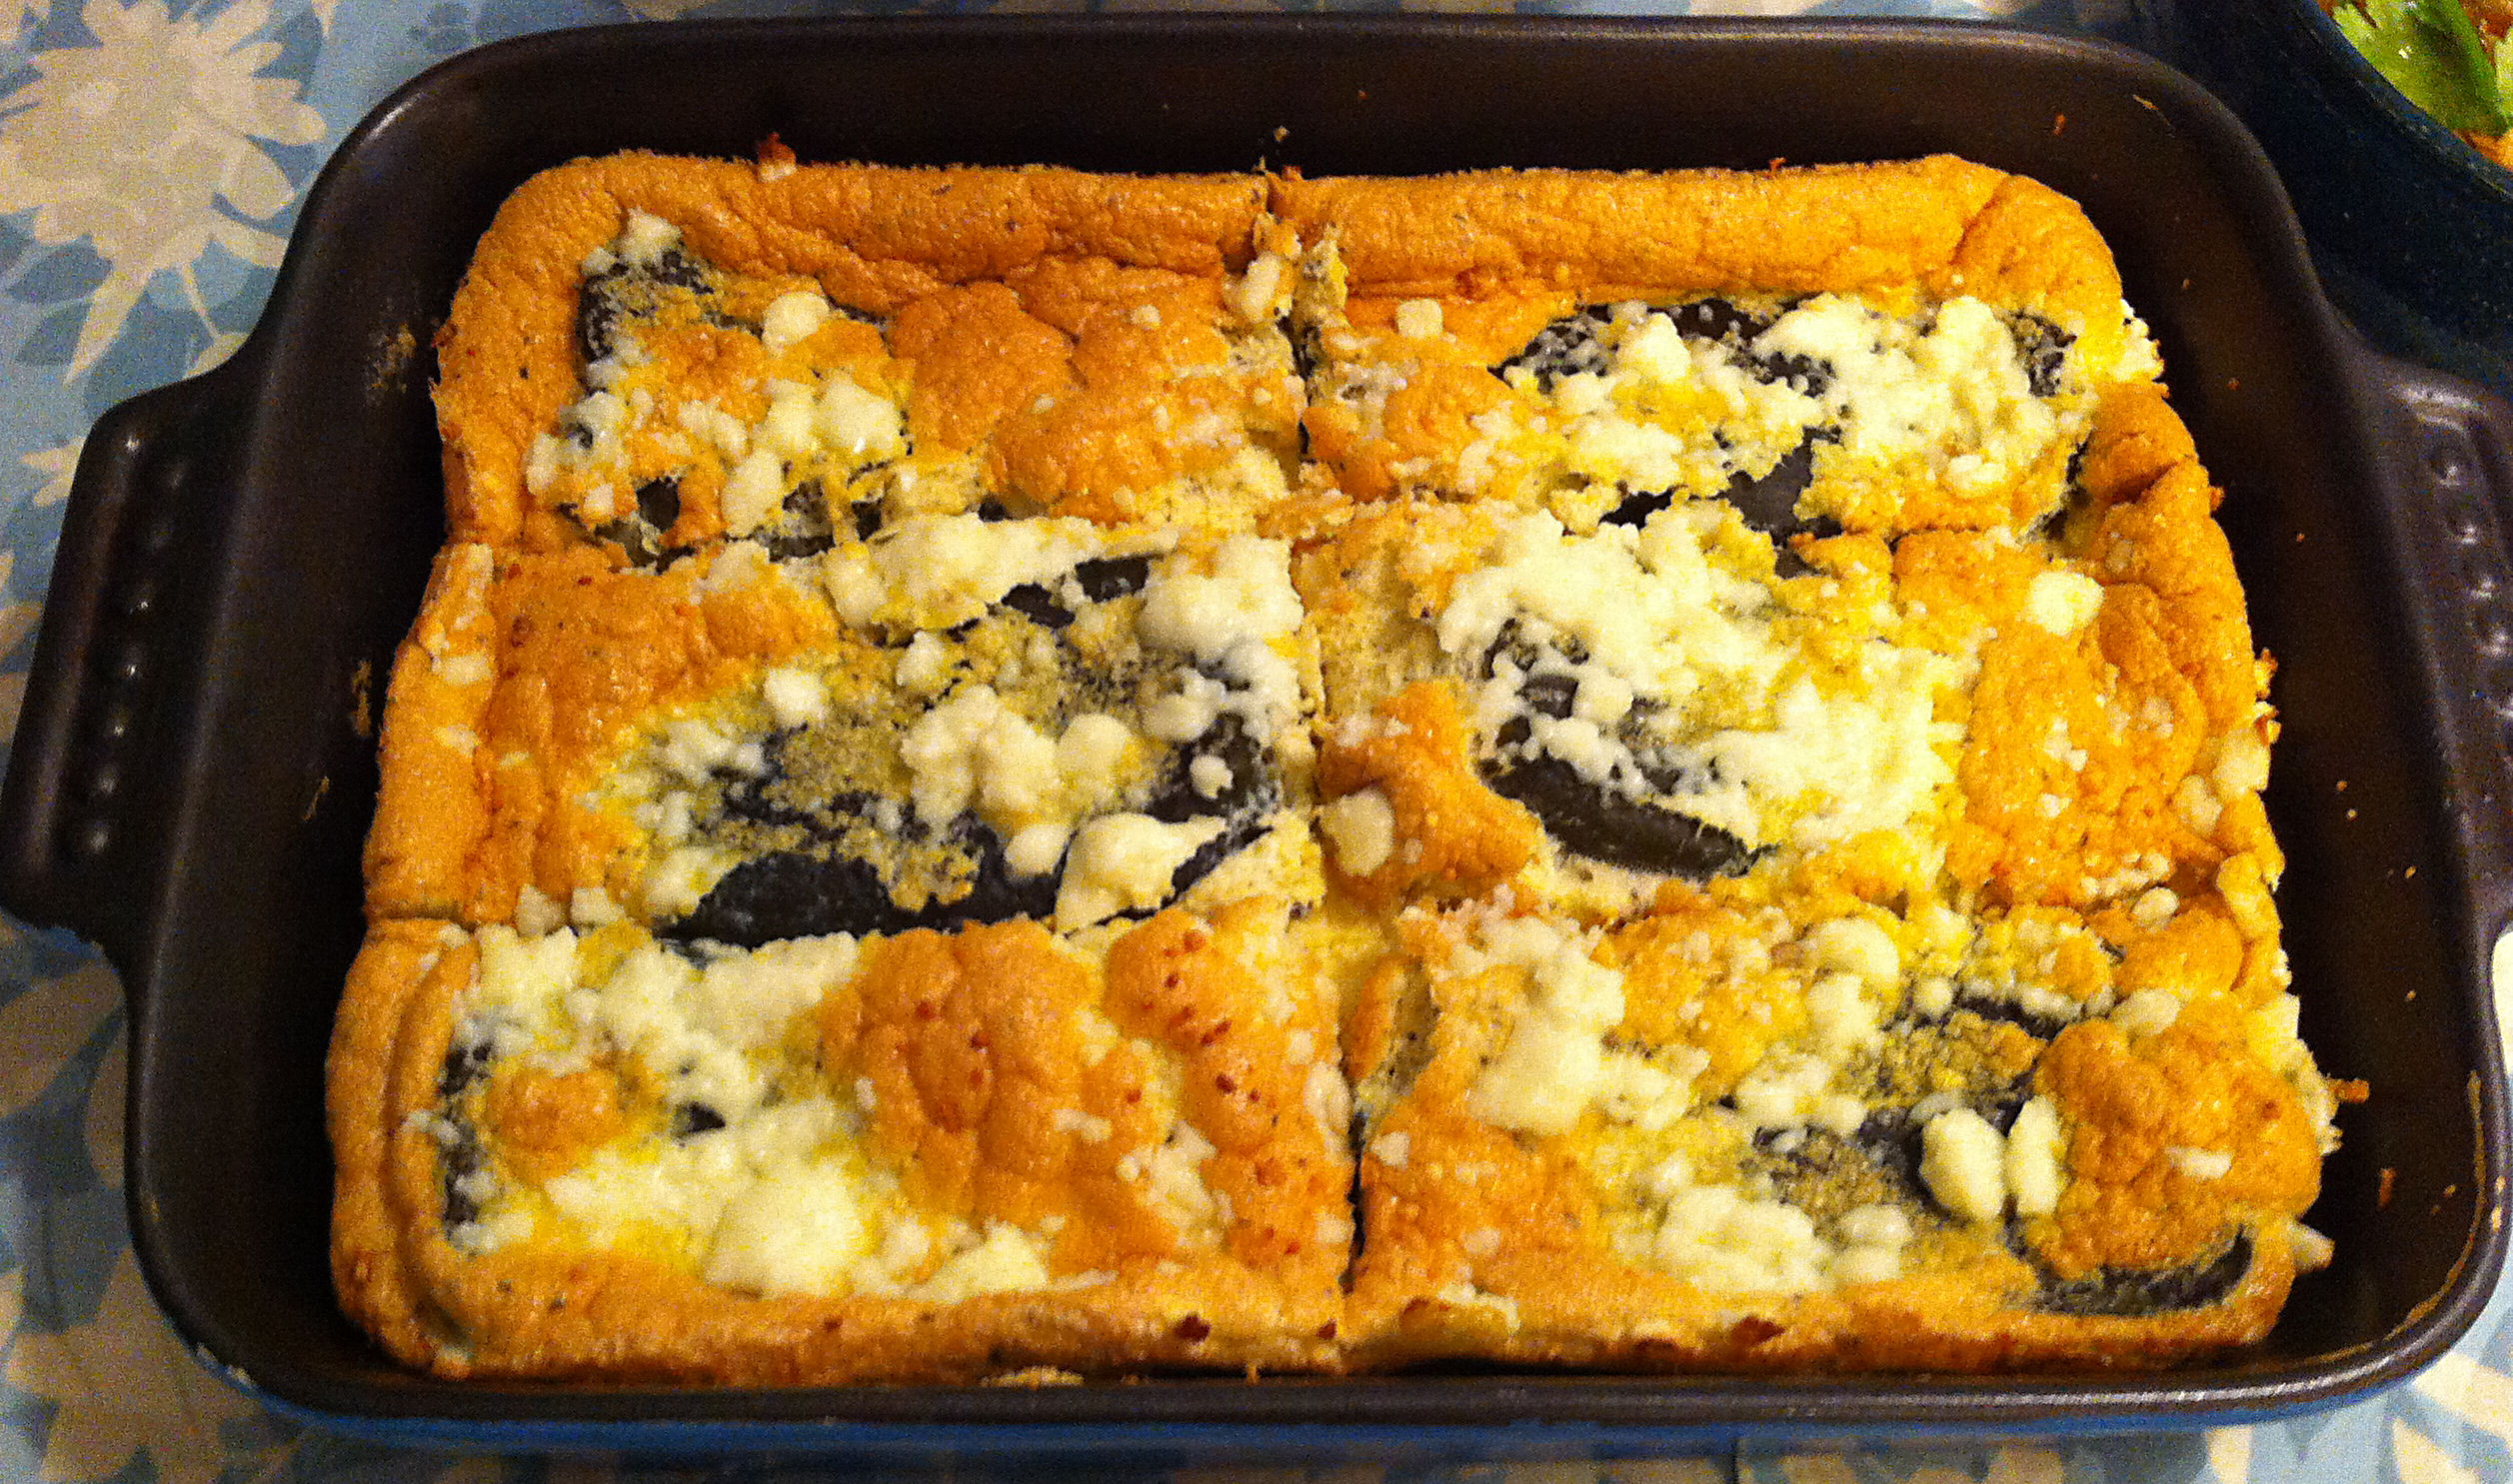
Cutting Karl’s Chili Rellenos in a Casserole
Karl’s Chili Rellenos in a Casserole
Ingredients
6 Poblano chilies
10 oz. queso fresco
5 eggs, separated and at room temperature
1 tsp. Mexican oregano
½ tsp black pepper
¼ tsp. Kosher salt
½ tsp. cream of tartar
Directions
1. Broil the chilies four inches from the heating element until just starting to get spotty on all sides.
Tip: Check the chilies every few minutes and turn them frequently. You want the surface spotty, not totally blackened. If you cook the chilies too much you will not be able to work with then without them falling apart. You want soft but firm chilies.
2. Put the chilies in a plastic bag and twist it shut. Let the chilies steam for at least 10 minutes.
Tip: The steaming helps the skins to peel more easily.
3. Peel away the skins, but leave the stem cap intact.
Tip: When you stuff the chilies with cheese the cap prevents the melted cheese from just flowing out the top.
4. Once the chilies have cooled, lay one flat on a cutting surface. Insert a paring knife straight down about a quarter inch from the cap.
Warning: Do not go all the way through the chili.
Tip: You are trying to separate the seed core from the cap, one cut straight down should be enough. If there is enough of a stem to get a grip on, gently pull the stem away from the chili. Do not pull too hard or you will pull the cap right off.
Note: On most chilies the cap is slightly indented into the top of the chili. By pulling on the stem you will be able to make your first cut just a little bit higher.
5. Extend your first cut to the left and right so that you have almost calf cut off the top.
Tip: The goal here is to cut a “T” in the top side of the chili so that you can open it up and remove the core and seeds.
6. From the center of your first cut carefully slice down the chili towards the point.
Tip: Do not cut through the side of the chili that is against the cutting surface.
7. Open up the flaps you have created and remove the seed core.
8. Using a spoon or the edge of a knife carefully remove the remaining seeds.
Tip: Many seeds are attached along the ribs that run down the sides of the chili. To remove them, use a spoon or knife to scrap up toward the top of the chili.
Warning: DO NOT grip the rib near the top of the chili and pull down towards the point! The flesh near the top of the chili is fairly thick, but as you near the point it gets thinner. As you pull down the rib will tear away the flesh, leaving you with a gaping hole in your chili.
Note: Be sure to check in the folds around the cap, seeds will get caught there and they are not easy to see.
9. Crumble the queso fresco into fine bits.
Tip: This is a very crumbly cheese, it is easy to pinch and rub the cheese between your fingers to get a good crumble—no tools necessary.
10. Gently pack about a loose quarter of a cup of cheese into each chili.
Tip: How much cheese you use depends on how many chilies you are making and how large they are.
Note: If you have enough cheese you would like to have about half a cup of cheese left after you have stuffed your chilies.
11. Fold the sides of the chili over the cheese and carefully squeeze the cheese until you can slightly over lap the sides of the cut.
Tip: You can prep this recipe ahead, up to this point, and put it on hold for an hour. Put the chilies on a plate and loosely cover them with plastic wrap.
12. Preheat your oven to 350º F.
13. Separate the eggs into separate bowls, small for the yolks and large for the whites.
Tip: Separate each egg into a small cup, before putting them into the bowls. Egg white will not properly if there is the slightest bit of egg yolk or water in the bowl.
Note: Using the small cup keeps you from having to start over when the last egg yolk breaks and gets into the whites.
14. Mix the oregano, pepper, and salt into the egg yolks.
15. Add the cream of tartar to the egg whites and whip them to firm peaks.
Tip: Do not over beat the eggs or they will start break and to lose volume.
16. Fold the yolk mixture into the egg whites.
17. Pam a large flat casserole.
Tip: The casserole should be big enough to easily hold all of your chilies with about a half an inch of space between the chilies and the sides of the dish. The gap between the chilies can be as small as a ¼ inch, but should not be more than ¾ of an inch.
18. Spread half of the egg mixture in the bottom of the dish.
19. Arrange the chilies—cut side down—in a single layer with gaps between the chilies and the sides of the pan.
Tip: Lay the chilies in a simple pattern that will be easy to remember when you are cutting up the casserole. You will want to cut your final dish so that each chili comes out whole. You do not want to cut them up into bits in the pan.
20. Spread the remaining egg mixture over the chilies and put the casserole into the oven.
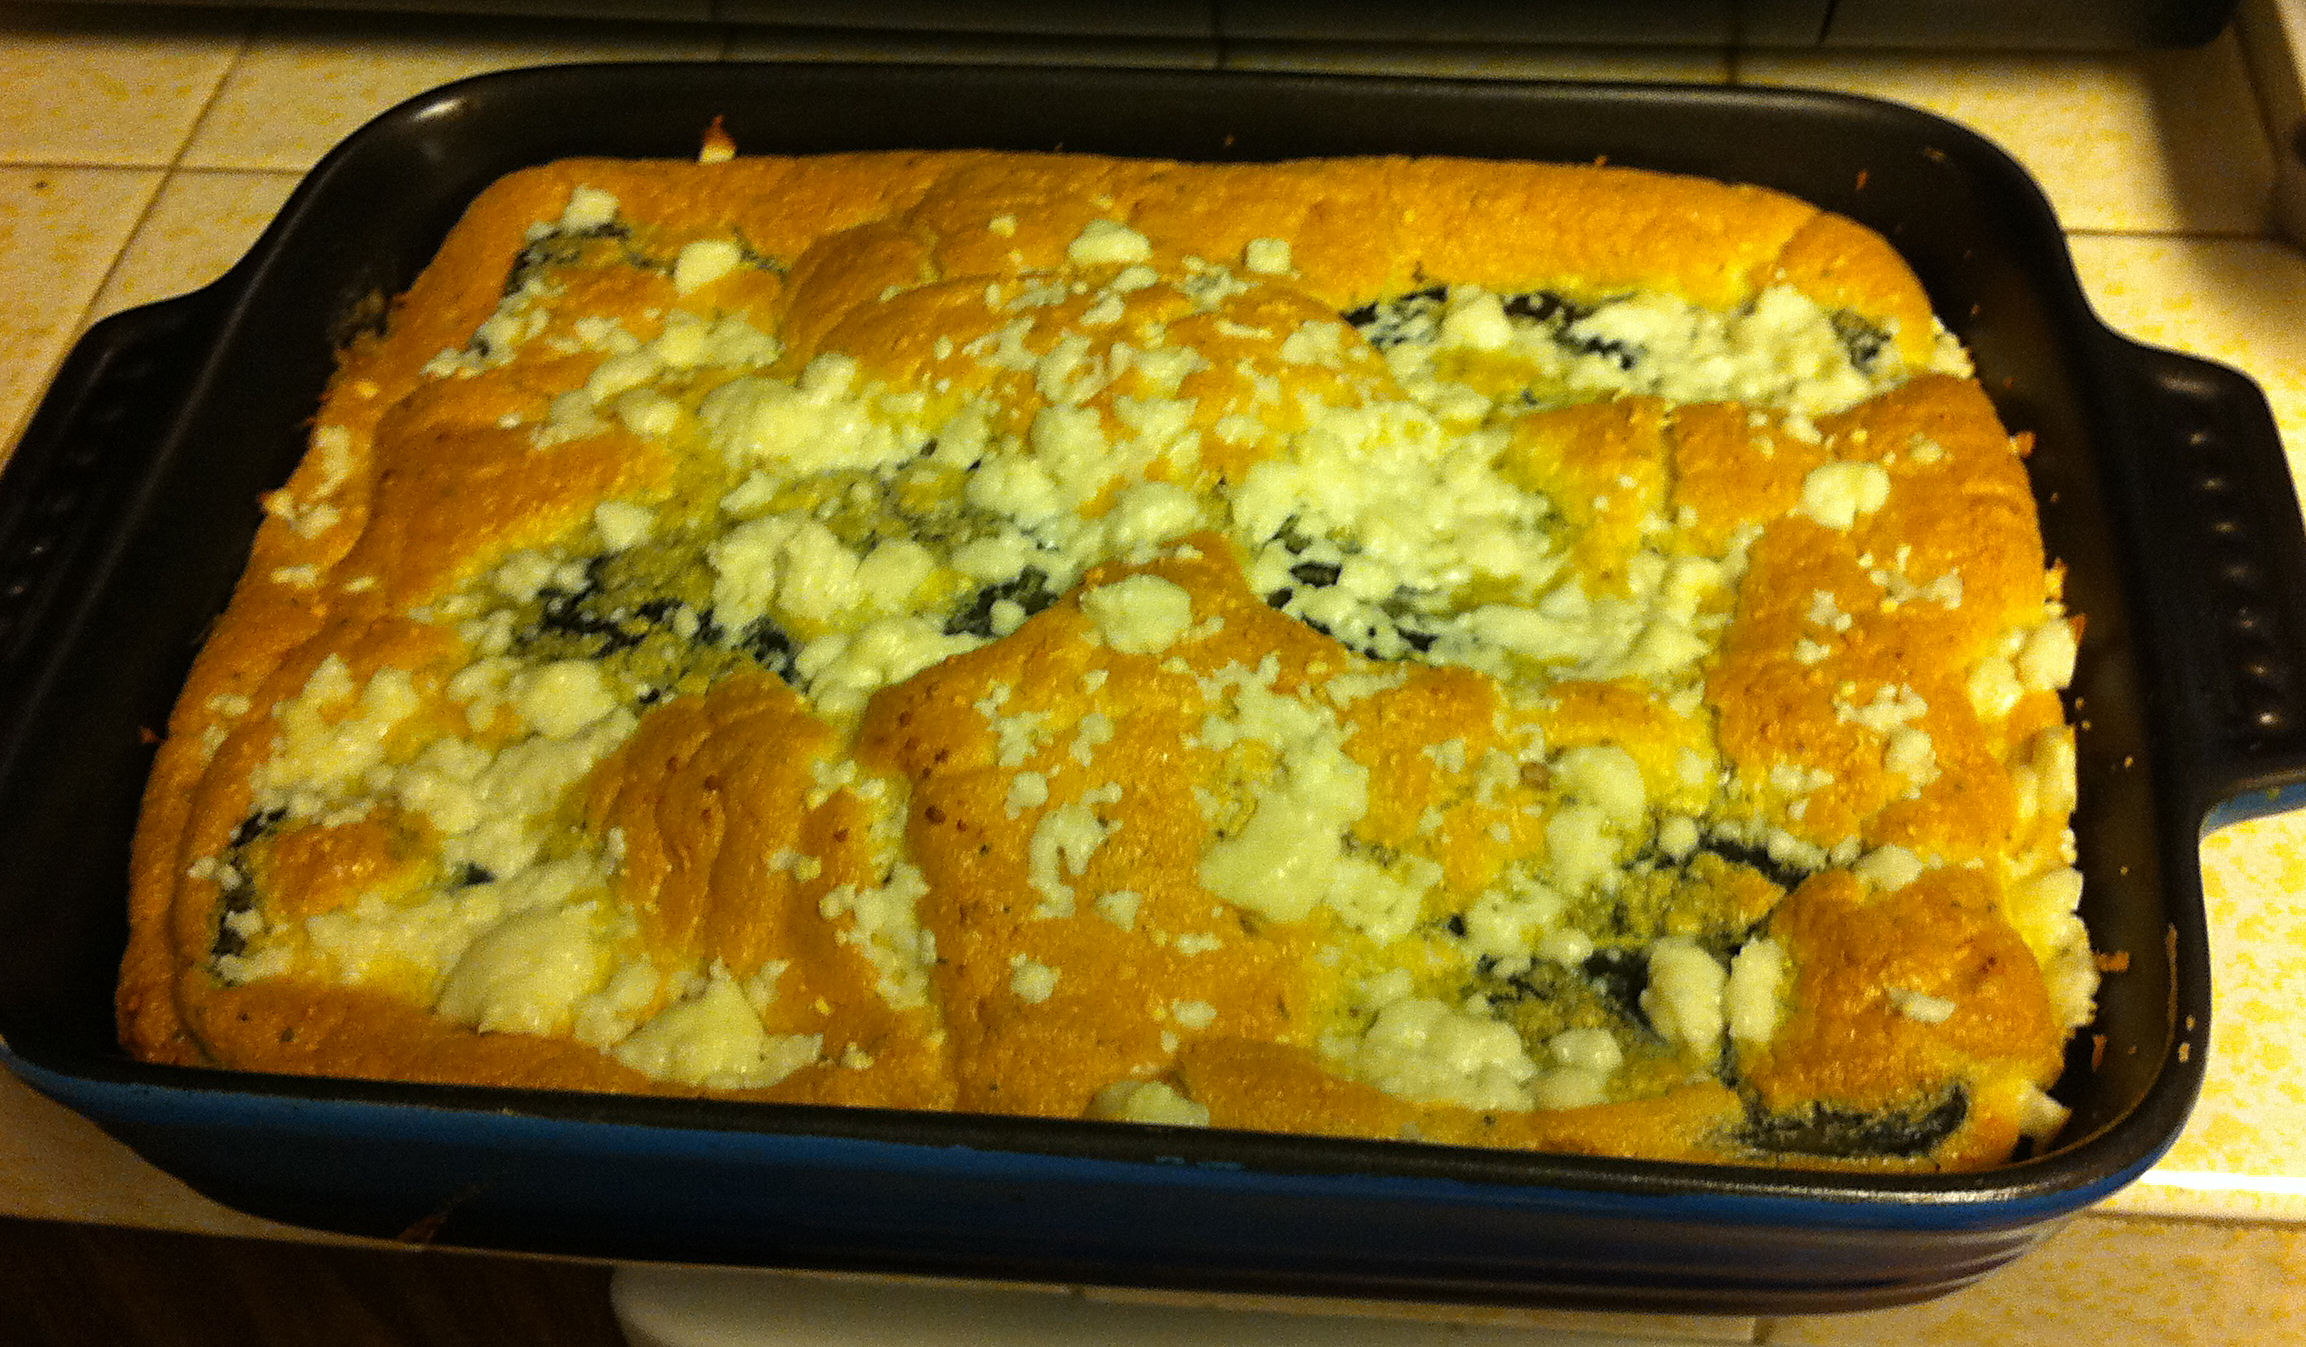
21. Bake the casserole for 20-25 minutes, until starting to brown in the top.
22. If you have any cheese left, crumble it over the top of the casserole and bake for five more minutes.
23. Let the casserole cool slightly and then cut each chili free from the others.
24. Serve directly from the casserole.

Pingback: Karl’s Molé Basted Barbecued Chicken | Jabberwocky Stew